1. Preparation before installation
Clean the base surface: Use non-woven fabric or alcohol to thoroughly remove burrs, oil stains, and foreign objects from the installation surface, ensuring that the base surface is flat (flatness ≤ 0.01mm/m).
Tool preparation: torque wrench (set torque according to instructions), dial gauge, height block, adjusting gasket, etc.
2. Installation steps for guide rails
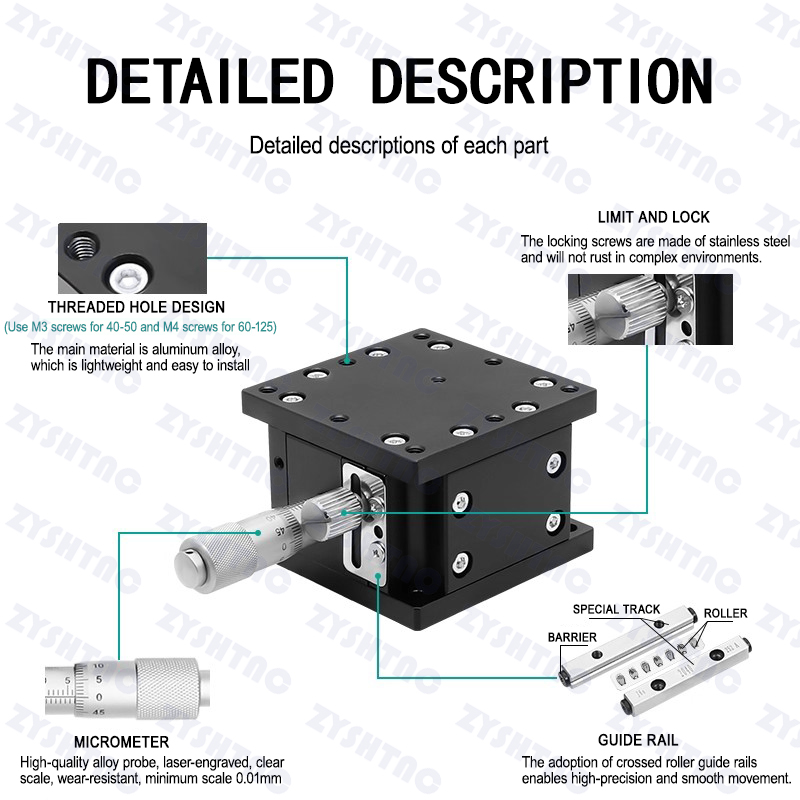
Retain the cage and move it to the middle position of the guide rail to ensure that the rollers are arranged correctly in a cross pattern.
Gently push the guide rail to center the cage and prevent the rollers from tilting.
First, tighten the screws on the side without the top screw before installing the side with the top screw (not yet locked).
Pre tighten the screws in diagonal order and increase the torque to the specified value 2-3 times.
Pre pressure adjustment moves the slide table to the end of the stroke, gently unscrew the top screw to eliminate the gap, and repeat the adjustment until the slide table has no shaking.
Use a micrometer to measure straightness (error ≤ 0.01mm/m).
After confirming the preload of the final locking, tighten all screws according to the recommended torque.
Install the limit screw and apply lubricating grease.
3. Key precautions
Parallelism calibration (dual rail system): Adjust the parallelism of the second rail based on the first rail (error ≤ 0.02mm/m).
Pre tightening force control: Over tightening can cause roller wear, while over loosening can reduce accuracy.
Load test: After installation, a 25kg weight needs to be loaded to eliminate pre pressure and ensure smooth operation.
4. Common problem handling
Cage offset: The cage is automatically centered by sliding the slide table left and right.
Abnormal noise or jamming: Check for burrs at the joint of the guide rail and polish it with an oilstone.